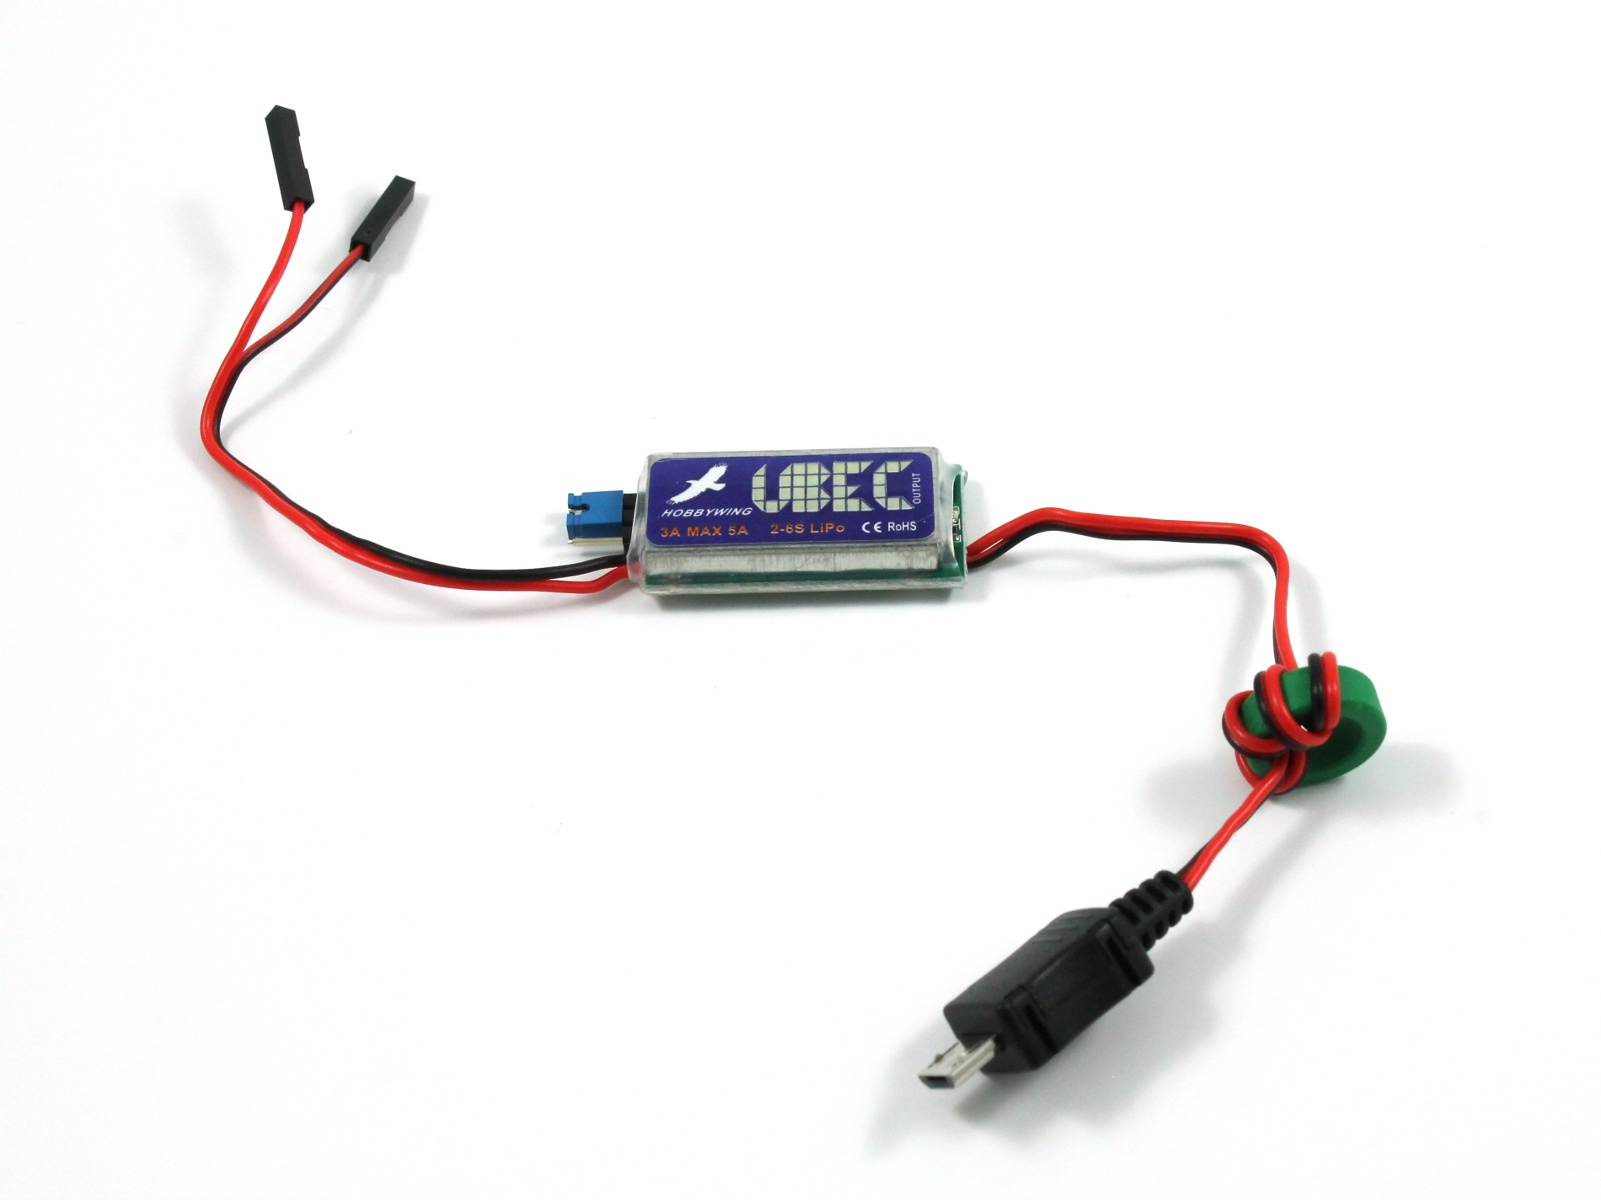
A UBEC provides a nice efficient way to power your Pi from batteries
We recently started selling a USB powerbank which can be used to power the Raspberry Pi robot kit that we sell. Using the powerbank provides great battery life, but we’re still interested in making the robot run well from AA batteries, as this may be the cheaper option if you already have rechargeable batteries and a charger lying around.

Testing battery life
Therefore, we’re modifying the kit a bit to include a UBEC (Universal Battery Elimination Circuit). This is an efficient switching voltage regulator which takes the load off the linear voltage regulator of the Mini Driver and improves the running time of a robot being powered by AA batteries a lot. This post gives some details about why we’re making this change and also describes a battery testing script that we’ve written to determine what kind of run times can be expected for different methods of powering the Raspberry Pi robot.
The Dagu Arduino Mini Driver board used in the Raspberry Pi robot contains a L4941B 1A linear voltage regulator which can be used to run the robot from batteries. Linear voltage regulators are cheap, which helps keep the Mini Driver affordable, but they’re not very efficient, so a lot of battery power is wasted as heat. Also the Mini Driver, Raspberry Pi and a USB Wifi dongle use up quite a lot of the available 1A so there’s not much headroom for adding extra sensors to the robot.
By contrast, the UBEC we’re using is a switching voltage regulator which are a lot more efficient than linear regulators, wasting much less battery power. Also, the UBEC is able to provide up to 3A of current, so provided the batteries can keep up, this provides a lot more current to supply USB peripherals plugged into the Pi, and sensors plugged into the robot.
Wiring up the UBEC
Making use of the UBEC is very straightforward. If you’ve already wired up your robot to provide power to the Raspberry Pi from the Mini Driver, then first remove these wires. After that, connect the red input wire of the UBEC to the pin directly next to the on/off switch of the Mini Driver (this is connected to battery voltage), and then connect the black input wire of the UBEC to a GND pin on the Mini Driver. We’ve used the GND pin on the 3×2 programming header as this is unlikely to be used for anything else. Finally, plug the USB connector of the UBEC into the Pi and attach a set of 6xAA batteries to the +/- pins of the Mini Driver and you’re good to go. ![]()

Remove any power wires connecting the Mini Driver to the Pi.

Connect the UBEC to the Mini Driver and the Pi
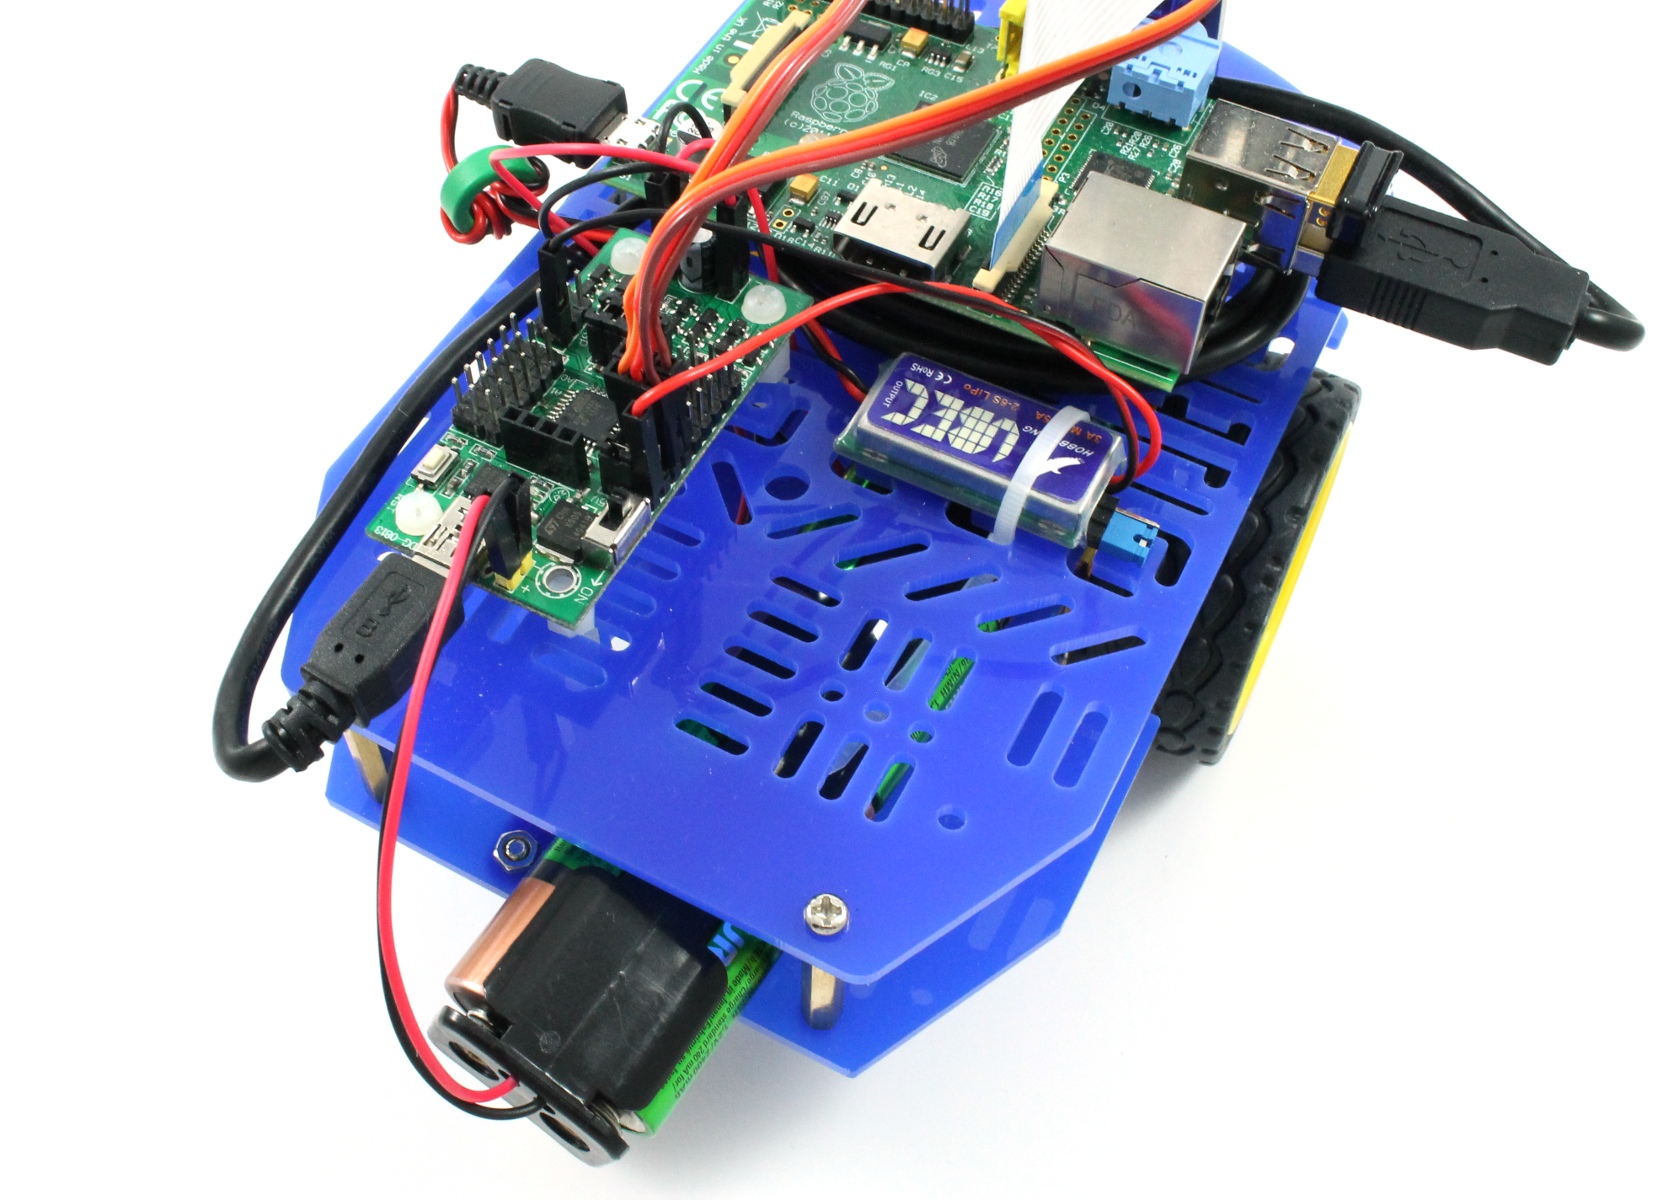
Power the Robot using 6xAA batteries (preferably rechargeable)
Testing the Battery Life of the Robot
To help us test and compare different ways of powering our robot we’ve developed a little battery testing script using our py_websockets_bot control library (installation instructions here). This test script runs on a PC and connects to the robot over WiFi. It runs in a loop making the robot look in different directions, and then periodically making the robot spin either left or right. In this way we hope to simulate the conditions in which the robot might be used i.e. lots of stop/start motion. The Mini Driver has one of its ADC pins hard-wired to a voltage divider to measure its battery voltage, and so the test script periodically records this voltage. When the robot runs out of juice, it stops responding and the script can be ended, at this point the script saves the voltages out to a CSV file so we can plot how the voltage of the battery changes over time.
The graph below shows some of the tests we’ve run. All of the tests were run on our Raspberry Pi robot using a Model B, so we’d expect runtime improvements if using a Model B+, as this has lower power consumption. The voltage readings are quite noisy, but you still get the general discharge curve over time when running off batteries. The graph shows the advantage of using good rechargeable batteries (NiMH) instead of non-rechargeable (Alkaline) batteries. On rechargeable batteries (Duracell 2400mAh NiMH) the robot ran for approximately 3 hours, which was 3 times longer than when using Alkalines (Sainsbury’s Extra Long Life). The graph also shows the results of running the robot on the TeckNet iEP387 USB powerbank that we sell.
We’ll update this graph with more tests as we run them, i.e. we’re planning to run tests using the Model B+. Also, we’d be really interested to see the results of any battery tests that users run on their camera robots to see how they compare with our results.

Results of running battery_test.py using different power supplies for the robot.
how are you recording the battery life data? Does this “.py” battery life script monitor or log the battery voltage in a file that can be offloaded and sent to you? What was your sample rate ? I was just about to test my battery use by SSH connection and then running a similar script. I like yours better. Is the video streaming while this is running “we’ll be dizzy” or is this running outside the webstreaming interface that would normally has access to PiBot once it boots